

Add recipients and signing order
Decide who acts on the document and in what order.
-
Add the first recipient
Select Add Recipient.
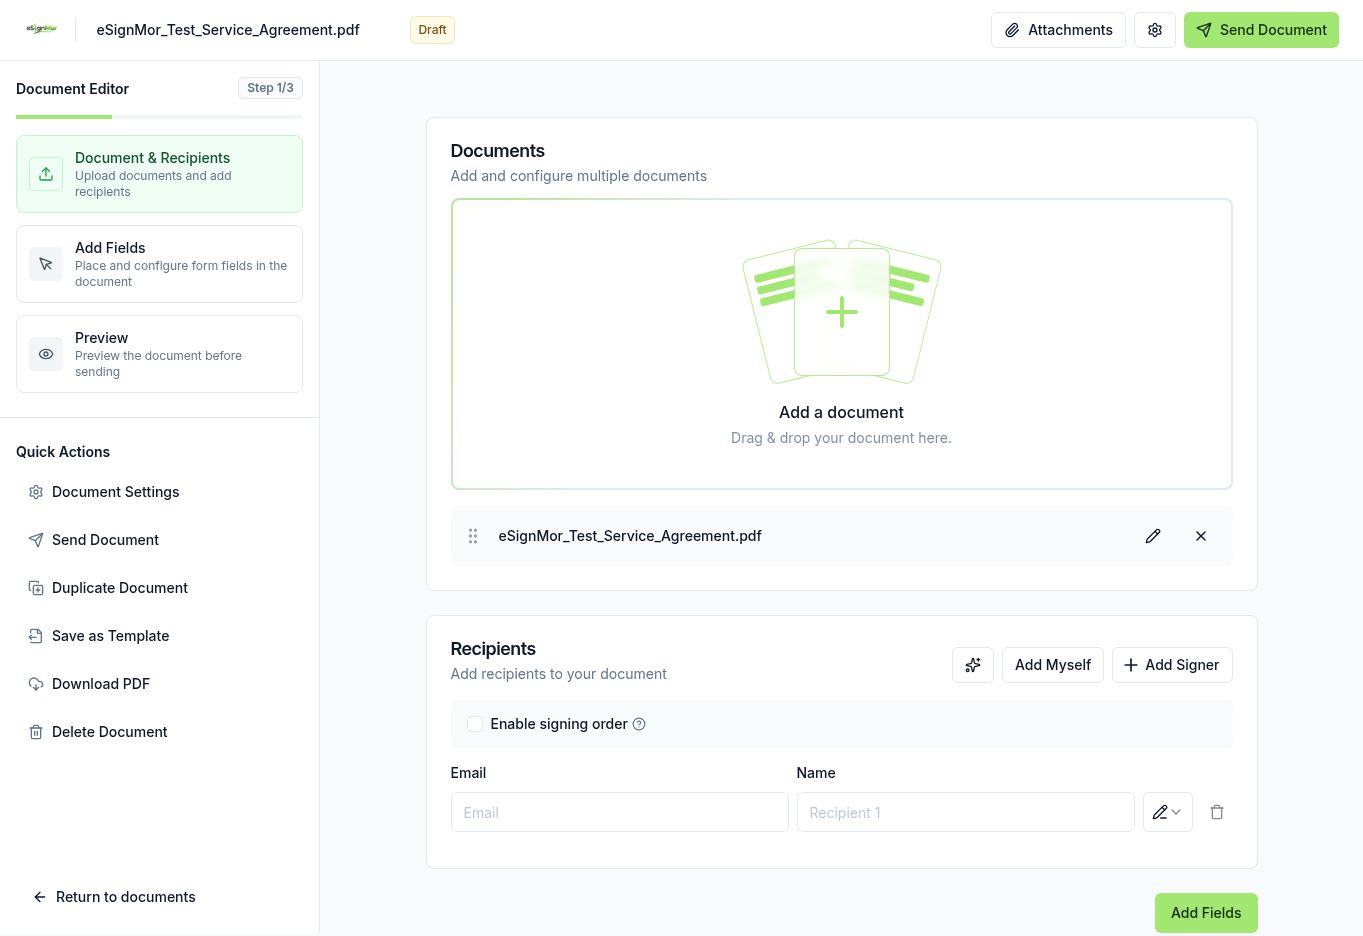 Add the first recipient.
 -
Verify identity
Enter and verify the recipient’s name and email address.
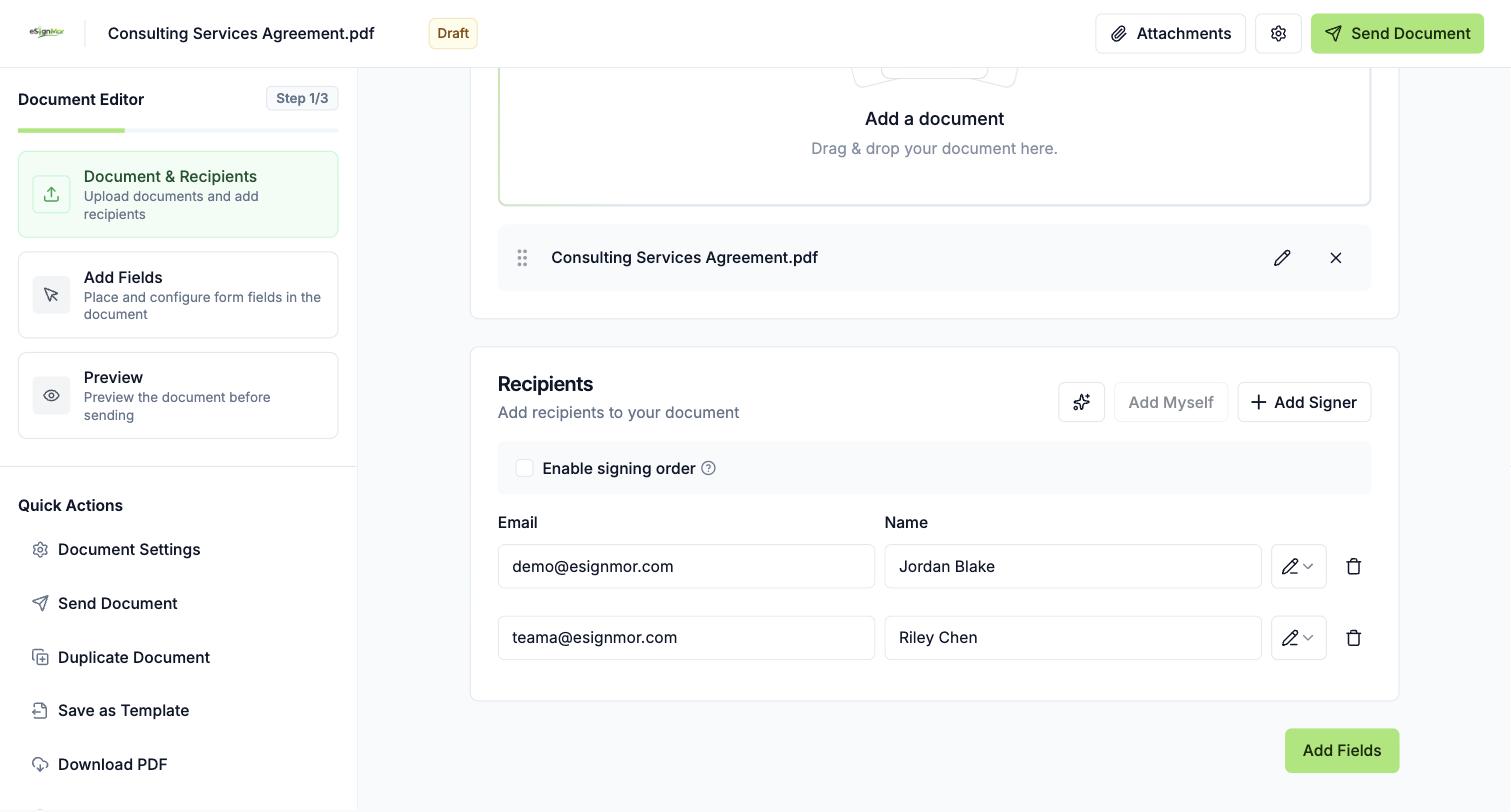 Verify recipient identity before sending.
Important: A wrong email address sends the document to the wrong person. Check before sending.
-
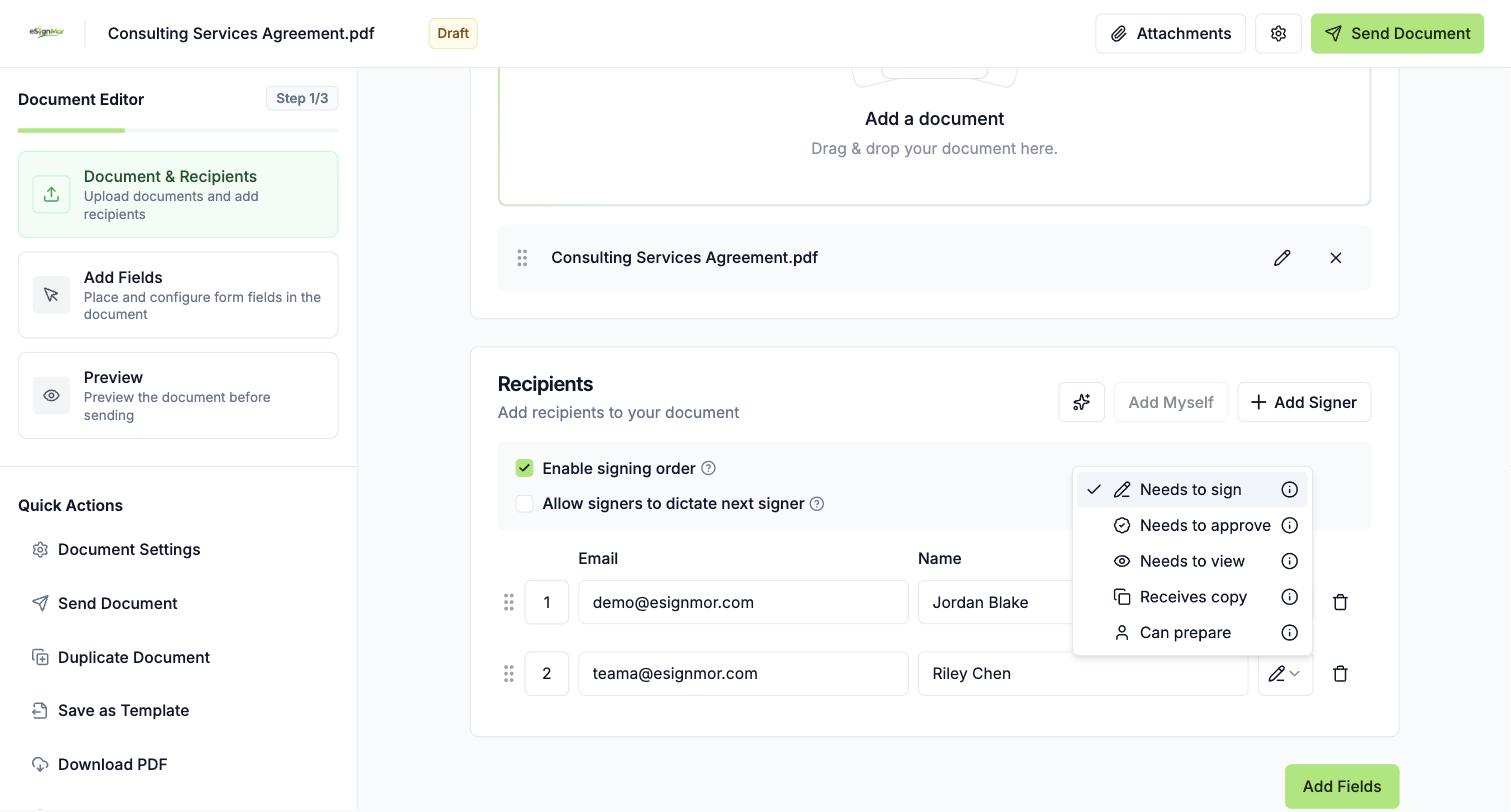
Choose the role
Select Signer, Approver, Viewer, CC, or Preparer when available.
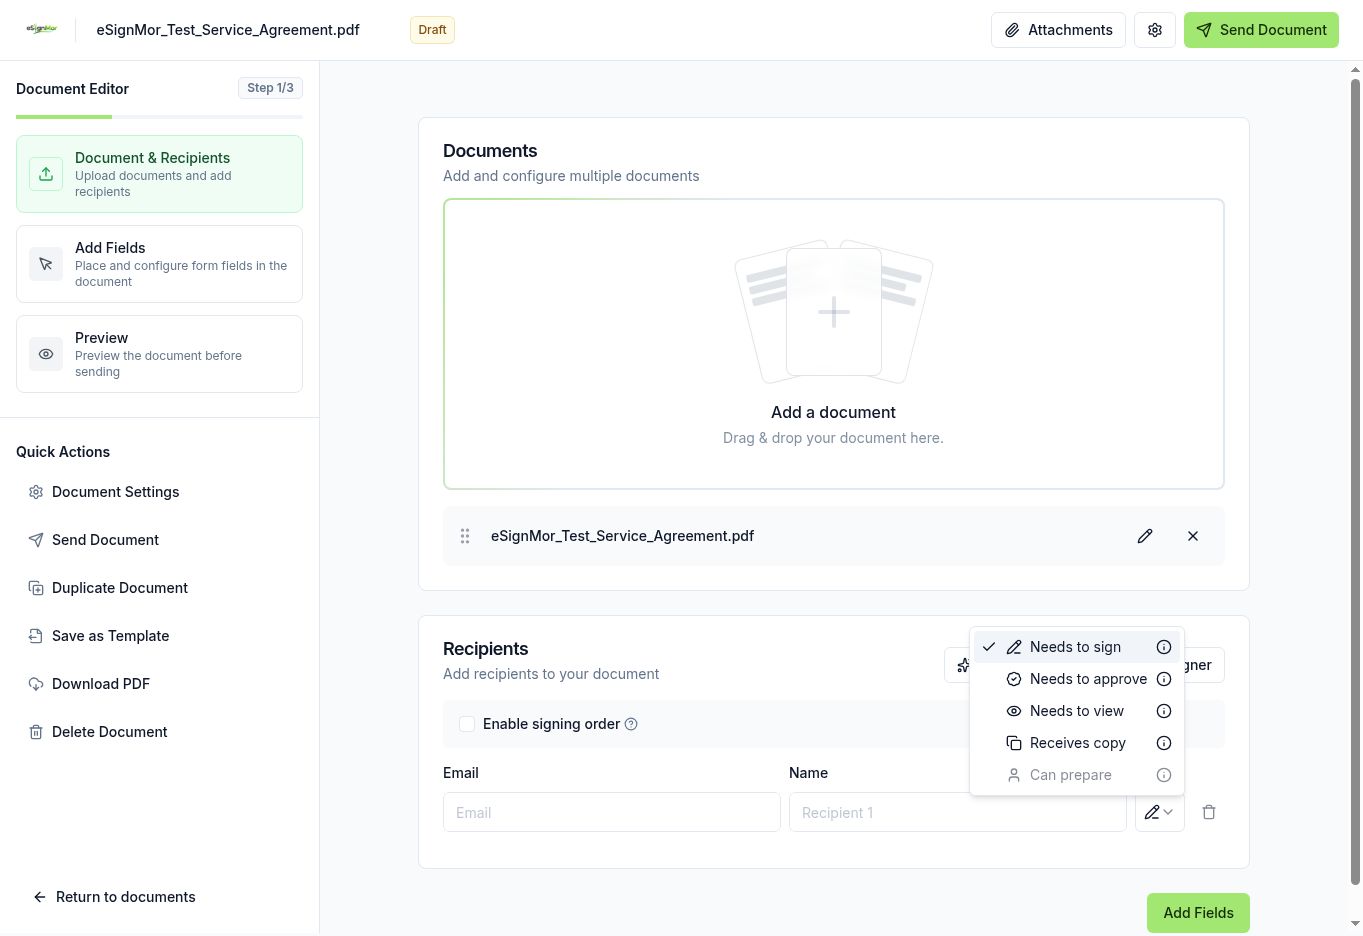 Assign the action expected from the recipient.
 -
Add everyone
Add every required recipient.
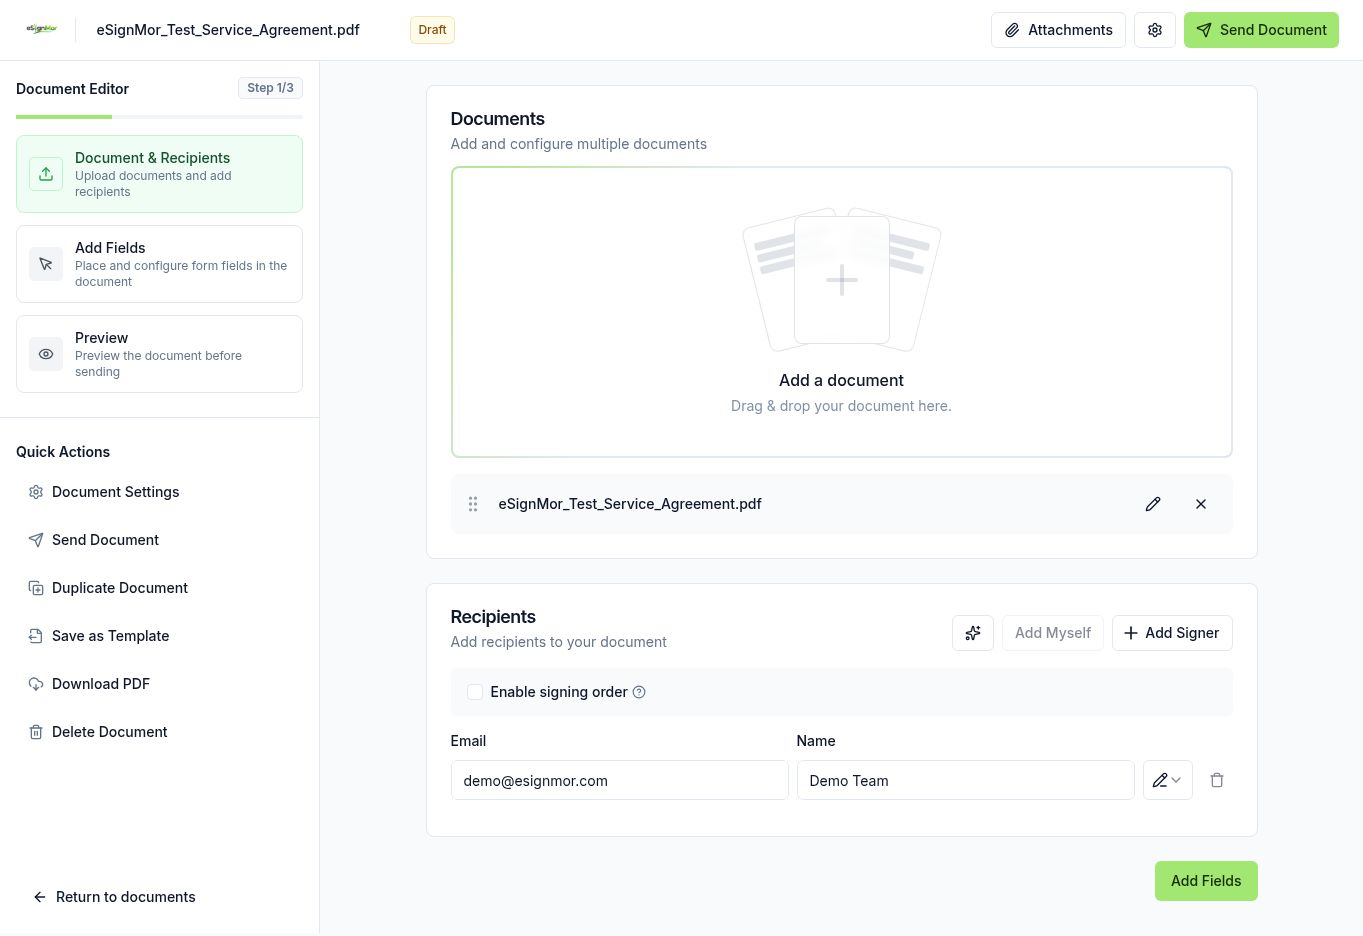 Review all recipients and roles.
 -
Enable signing order
Enable Signing Order when actions must occur sequentially.
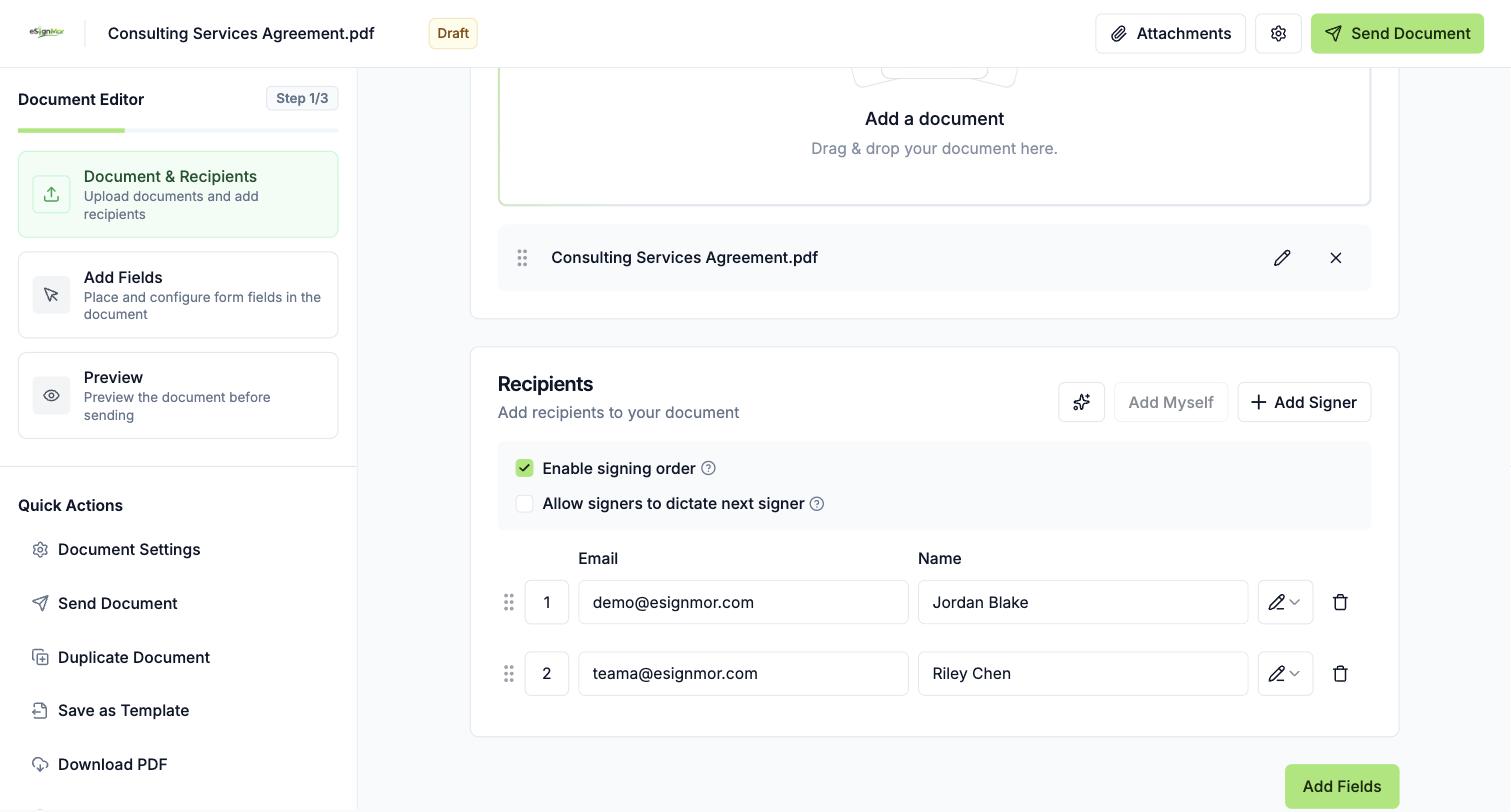 Turn on sequential routing when required.
 -
Arrange the order
Arrange the order. Later recipients wait until preceding actions are complete.
 Set the recipient workflow order.
 -
Review before fields
Review spelling and addresses before adding fields.
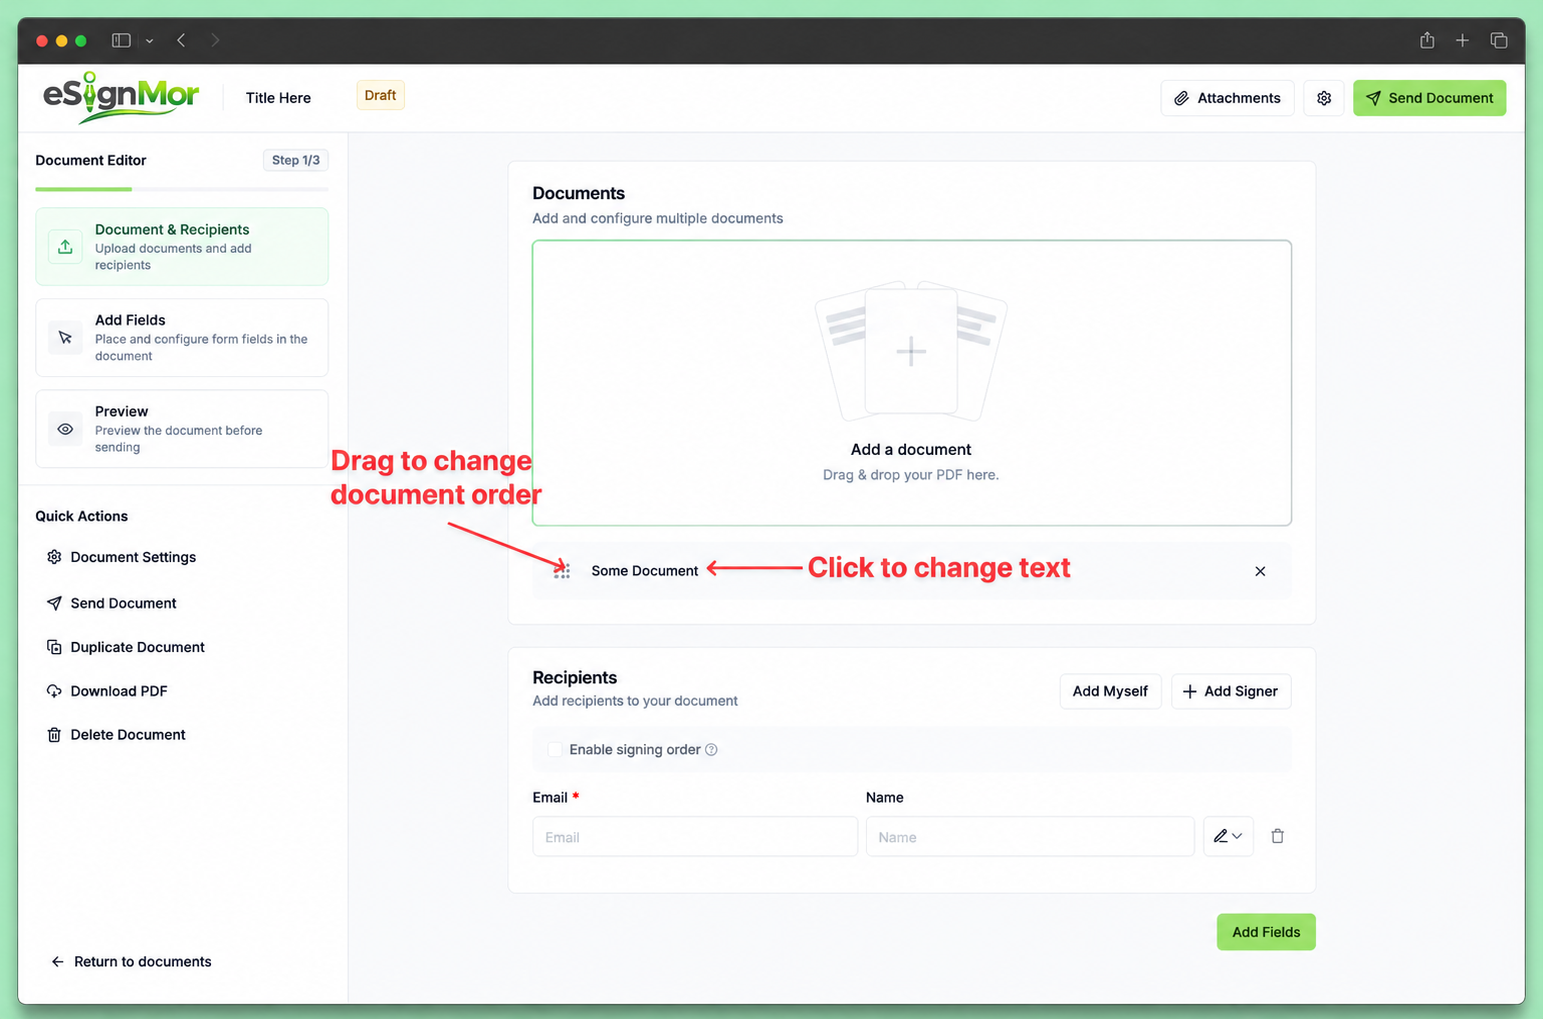 Complete a final recipient review.
Result: The routing is correct and ready for field placement.
Need a hand? Email support@esignmor.com.